0x01 前言
我用过禅道,但觉得太复杂太繁琐;用过teambition,但多项目要收费。最近一段时间找到一款开源的项目管理与BUG跟踪工具:redmine,虽然界面不太好看,但功能强大,使用简单,但是安装有点繁琐。
redmine是一款基于GPL许可的开源软件,使用Ruby进行安装,数据则存放在mariadb中。他主要有以下功能:
- 支持多个项目
- 灵活的用户角色控制
- 灵活的问题跟踪系统
- 甘特图和日程表
- 新闻、文件与档案管理
- Feeds订阅与邮件通知
- 基于项目的百科
- 基于项目的论坛
- 工时跟踪
- 可自定义字段
- 整合SCM(SVN,CVS,Git,Mercurial,Bazaar和Darcs)
- 可通过邮件创建问题
- 支持多种LDAP认证
- 支持用户自主注册
- 多国语言
- 支持多种数据库程序
以下是redmine项目的官方网站:
你还可以通过以下地址自行创建一个临时账户进行在线操作,当然,这是一个演示站:
0x02 准备
我安装的系统是centos7,你可以通过以下地址预先配置系统:
还需要准备数据库,我使用的是mariadb。因为我的redmine和数据库是装在同一个系统中,所以配置信息如下:
host:127.0.0.1
dbname:redmine
dbuser:redmine
dbpasswd:redmine
因为要通过Ruby安装,所以还需要选用一个国内的镜像,要不然装一天也装不好。在这里我选用清华大学的镜像:
- rubygems:https://mirrors.tuna.tsinghua.edu.cn/rubygems/
因为redmine默认监听的地址是:127.0.0.1:3000,所以还需要准备nginx进行反向代理。
0x03 环境
首先需要准备安装环境,首先需要通过以下命令安装所需要的软件包:
yum install gcc-c++ patch readline readline-devel zlib zlib-devel libyaml-devel libffi-devel openssl-devel make bzip2 autoconf automake libtool bison iconv-devel sqlite-devel ImageMagick ImageMagick-devel mariadb-devel
然后分别运行以下命令安装rvm,先导入相关gpg key
[root@redmine ~]# curl -sSL https://rvm.io/mpapis.asc | gpg --import -
gpg: directory `/root/.gnupg' created
gpg: new configuration file `/root/.gnupg/gpg.conf' created
gpg: WARNING: options in `/root/.gnupg/gpg.conf' are not yet active during this run
gpg: keyring `/root/.gnupg/secring.gpg' created
gpg: keyring `/root/.gnupg/pubring.gpg' created
gpg: /root/.gnupg/trustdb.gpg: trustdb created
gpg: key D39DC0E3: public key "Michal Papis (RVM signing) <[email protected]>" imported
gpg: Total number processed: 1
gpg:               imported: 1  (RSA: 1)
gpg: no ultimately trusted keys found
然后安装rvm:
[root@redmine ~]# curl -L get.rvm.io | bash -s stable
  % Total    % Received % Xferd  Average Speed   Time    Time     Time  Current
                                 Dload  Upload   Total   Spent    Left  Speed
  0   194    0     0    0     0      0      0 --:--:-- --:--:-- --:--:--     0
100 24028  100 24028    0     0  16058      0  0:00:01  0:00:01 --:--:-- 5582k
Downloading https://github.com/rvm/rvm/archive/1.29.2.tar.gz
Downloading https://github.com/rvm/rvm/releases/download/1.29.2/1.29.2.tar.gz.asc
gpg: Signature made Fri 23 Jun 2017 12:18:38 AM HKT using RSA key ID BF04FF17
gpg: Good signature from "Michal Papis (RVM signing) <[email protected]>"
gpg:                 aka "Michal Papis <[email protected]>"
gpg:                 aka "[jpeg image of size 5015]"
gpg: WARNING: This key is not certified with a trusted signature!
gpg:          There is no indication that the signature belongs to the owner.
Primary key fingerprint: 409B 6B17 96C2 7546 2A17  0311 3804 BB82 D39D C0E3
     Subkey fingerprint: 62C9 E5F4 DA30 0D94 AC36  166B E206 C29F BF04 FF17
GPG verified '/usr/local/rvm/archives/rvm-1.29.2.tgz'
Creating group 'rvm'

Installing RVM to /usr/local/rvm/
Installation of RVM in /usr/local/rvm/ is almost complete:

  * First you need to add all users that will be using rvm to 'rvm' group,
    and logout - login again, anyone using rvm will be operating with `umask u=rwx,g=rwx,o=rx`.

  * To start using RVM you need to run `source /etc/profile.d/rvm.sh`
    in all your open shell windows, in rare cases you need to reopen all shell windows.

# Administrator,
#
#   Thank you for using RVM!
#   We sincerely hope that RVM helps to make your life easier and more enjoyable!!!
#
# ~Wayne, Michal & team.

In case of problems: https://rvm.io/help and https://twitter.com/rvm_io
然后使用以下命令初始化rvm:
#初始化
[root@redmine ~]# source /etc/profile.d/rvm.sh

#重新加载
[root@redmine ~]# rvm reload
RVM reloaded!
使用以下命令检查依赖:
[root@redmine ~]# rvm requirements run
Checking requirements for centos.
Requirements installation successful.
使用以下命令安装gem:
[root@redmine ~]# rvm install 2.3.3
安装可能需要比较长的时间,这要看你的网络和主机性能,结果如下图:

通过以下命令检查相关情况:
#列出已安装的软件
[root@redmine ~]# rvm list

rvm rubies

=* ruby-2.3.3 [ x86_64 ]

# => - current
# =* - current && default
#  * - default

#设置2.3.3版本为默认
[root@redmine ~]# rvm use 2.3.3 --default
Using /usr/local/rvm/gems/ruby-2.3.3

#检查ruby版本
[root@redmine ~]# ruby --version
ruby 2.3.3p222 (2016-11-21 revision 56859) [x86_64-linux]
在使用gem安装软件前,可以将默认的源换成清华大学的镜像:
[root@redmine ~]# gem sources --add https://mirrors.tuna.tsinghua.edu.cn/rubygems/ --remove https://rubygems.org/
https://mirrors.tuna.tsinghua.edu.cn/rubygems/ added to sources
https://rubygems.org/ removed from sources
使用以下命令安装bundler:
[root@redmine ~]# gem install bundler
Successfully installed bundler-1.15.2
Parsing documentation for bundler-1.15.2
Installing ri documentation for bundler-1.15.2
Done installing documentation for bundler after 8 seconds
1 gem installed
为了能使redmine可以连接mariadb,还需要安装mysql2:
[root@redmine ~]# gem install mysql2 -v '0.3.21'
Fetching: mysql2-0.3.21.gem (100%)
Building native extensions.  This could take a while...
Successfully installed mysql2-0.3.21
Parsing documentation for mysql2-0.3.21
Installing ri documentation for mysql2-0.3.21
Done installing documentation for mysql2 after 0 seconds
1 gem installed
最后将bundle的源换成清华大学的镜像:
[root@redmine ~]# bundle config mirror.https://rubygems.org/ https://mirrors.tuna.tsinghua.edu.cn/rubygems/
0x04 安装
在安装redmine之前需要先下载源码,通过以下地址可以找到最新版:
在这里我选用最新版(3.4.2),下载并解压:
#创建并进入临时文件夹
[root@redmine ~]# mkdir /root/codex/redmine -p && cd /root/codex/redmine

#下载
[root@redmine redmine]# wget https://www.redmine.org/releases/redmine-3.4.2.tar.gz --no-check-certificate

#解压并进入相关目录
[root@redmine redmine-3.4.2]# tar zxvf redmine-3.4.2.tar.gz  && cd redmine-3.4.2
再继续往下之前要先修改配置文件:
#复制一份配置文件
[root@redmine redmine-3.4.2]# cp config/database.yml.example config/database.yml

#修改配置文件关于production部分的数据库内容
production:
  adapter: mysql2
  database: redmine
  host: 127.0.0.1
  username: redmine
  password: redmine
  encoding: utf8
在这里要注意数据库的编码,编码不一致可能会导致系统乱码或不能使用中文。
如果你需要导出PDF或PNG文件,还需要安装RMagick:
[root@redmine redmine-3.4.2]# bundle install --without development test rmagick
Fetching source index from https://mirrors.tuna.tsinghua.edu.cn/rubygems/
Resolving dependencies.......................................

Bundle complete! 30 Gemfile dependencies, 53 gems now installed.
Gems in the groups development, test and rmagick were not installed.
Use `bundle info [gemname]` to see where a bundled gem is installed.
bundle会自动解决依赖,在国内推荐使用清华大学的镜像,要不然真的很慢。如果成功安装,那么输出的内容类似以上内容。
使用以下命令生成session的secret:
[root@redmine redmine-3.4.2]# bundle exec rake generate_secret_token
使用以下命令建立数据库结构:
[root@redmine redmine-3.4.2]# RAILS_ENV=production bundle exec rake db:migrate
使用以下命令建立默认配置:
[root@redmine redmine-3.4.2]# RAILS_ENV=production bundle exec rake redmine:load_default_data

Select language: ar, az, bg, bs, ca, cs, da, de, el, en, en-GB, es, es-PA, et, eu, fa, fi, fr, gl, he, hr, hu, id, it, ja, ko, lt, lv, mk, mn, nl, no, pl, pt, pt-BR, ro, ru, sk, sl, sq, sr, sr-YU, sv, th, tr, uk, vi, zh, zh-TW [en]
====================================
Default configuration data loaded.
这里会有个交互,直接回车即可,进入系统后会识别浏览器语言,如果在这里选择中文,则会出现错误。
使用以下命令建立相关文件夹并赋予权限:
#建立组
[root@redmine redmine-3.4.2]# groupadd redmine

#建立用户
[root@redmine redmine-3.4.2]# useradd -M -s /sbin/nologin -n redmine -g redmine

#建立文件夹
[root@redmine redmine-3.4.2]# mkdir -p tmp tmp/pdf public/plugin_assets

#赋予权限
[root@redmine redmine-3.4.2]# sudo chown -R redmine:redmine files log tmp public/plugin_assets

#修正权限
[root@redmine redmine-3.4.2]# sudo chmod -R 755 files log tmp public/plugin_assets
0x05 启动
使用以下命令即可启动服务:
[root@redmine redmine-3.4.2]# bundle exec rails server webrick -e production
=> Booting WEBrick
=> Rails 4.2.8 application starting in production on http://localhost:3000
=> Run `rails server -h` for more startup options
=> Ctrl-C to shutdown server
[2017-07-22 00:44:10] INFO  WEBrick 1.3.1
[2017-07-22 00:44:10] INFO  ruby 2.3.3 (2016-11-21) [x86_64-linux]
[2017-07-22 00:44:10] INFO  WEBrick::HTTPServer#start: pid=939 port=3000
从输出的内容可以看出服务器监听的是127.0.0.1:3000这个地址,这说明从外部是访问不了的,建议使用nginx进行反向代理,同时可以配置上HTTPS协议以保安全。
不带TLS的nginx反向代理配置如下:
[root@redmine redmine-3.4.2]# cat /usr/local/nginx/conf.d/redmine.t.com.ngx.conf
server {

    listen                  80;
    server_name             redmine.t.com;

    location / {

        proxy_pass          http://127.0.0.1:3000;

    }

}
重新加载nginx后即可通过浏览器访问redmine:

点击右上角的“登录”按钮并输入默认的账号和密码即可登入:
- 默认账号密码
- 账号:admin
- 密码:admin
第一次登入会要求修改密码,一切正常的话会进入初始配置界面:
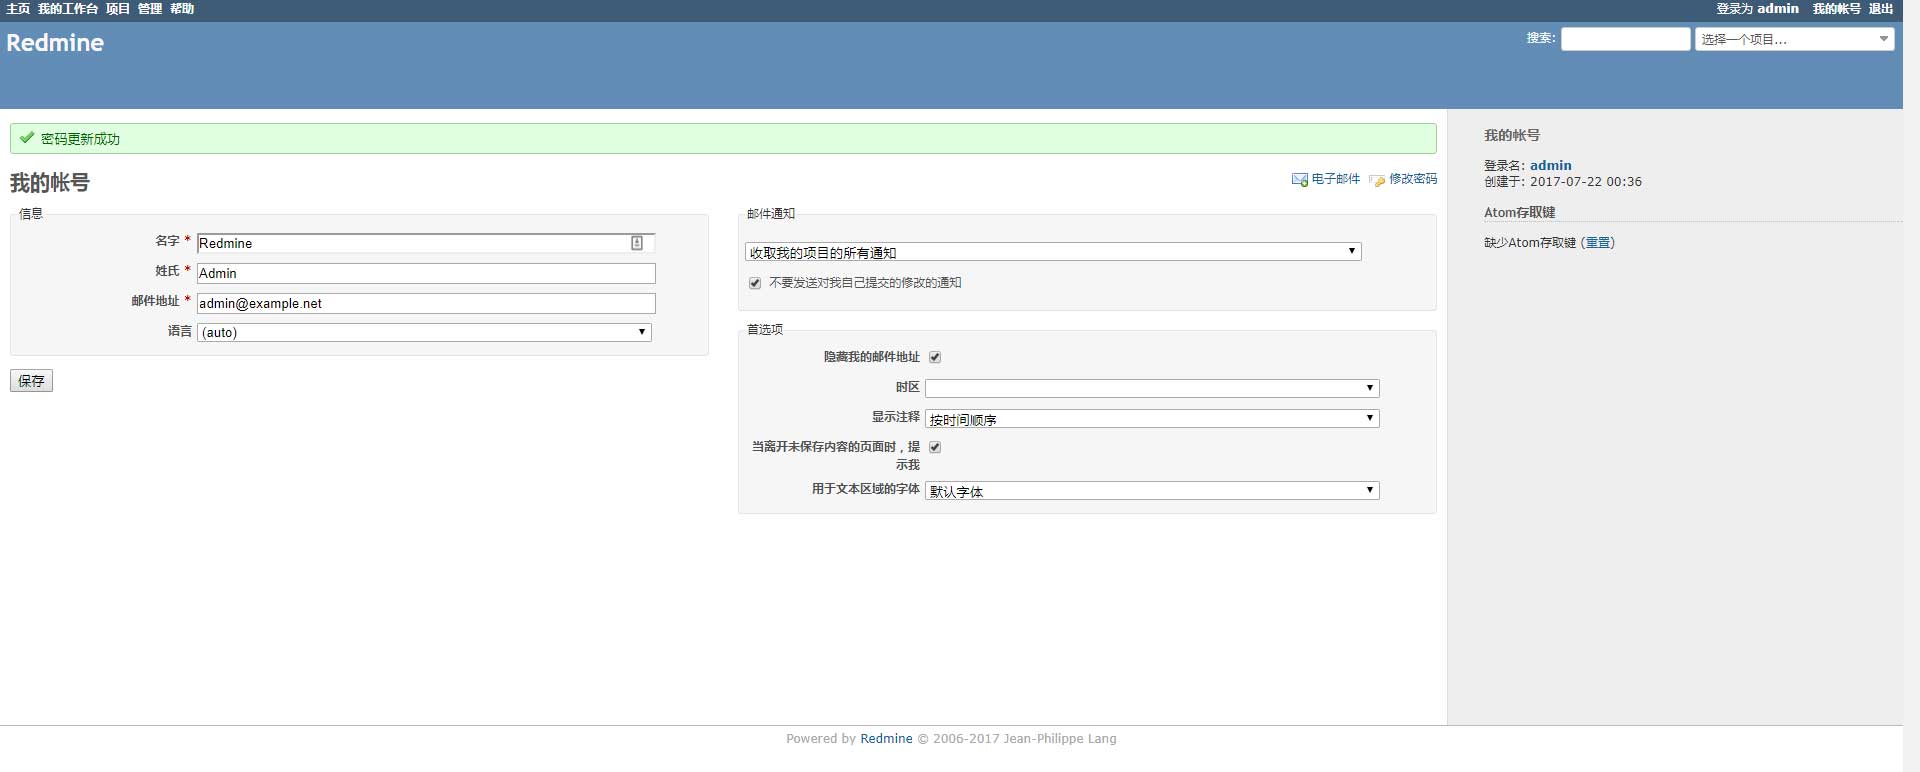
最后就是项目管理了。
0x06 结语
经过近一个月的使用,虽然界面不太好看,但是功能可以满足工作需求,操作也不繁琐。
为了可以开机启动,还可以将以下脚本添加到rc-local服务中:
[root@redmine redmine-3.4.2]# cat /usr/local/shell/redmine_startup.sh
#!/bin/sh

cd /root/codex/redmine/redmine-3.4.2
nohup bundle exec rails server webrick -e production > /dev/null 2>&1 &
如果只需要后台运行,则运行最后一行命令即可。


