0x01 前言
前些天我想将我安装好的cacti 1.0更新升级,升级后却发现我的历史数据都丢失了!因为cacti 1.0还处于开发阶段,我也不想再深入探讨这问题。
在经过一番权衡后,我决定在家里部署zabbix对我服务器的服务进行监控。安装完成后发现zabbix不但界面比较好看,而且易用性比cacti高很多。这里我将介绍我基于centos 7的安装过程。
0x02 准备
zabbix是一款web-based的开源监控软件,因为这样就需要数据库支持,在这里我选用mariadb;还需要PHP解析器,我选用PHP7;同时还需要web服务器,我使用nginx作为前端服务器,apache作为后端服务器。
因为我使用家里的服务器学习nginx的负载均衡,所以服务器架构是:
LNMPA(Linux+nginx+mariadb+php+apache)
相对比较复杂。当然,你可以使用nginx或者apache作为web服务器。
在这里我不叙述web-based环境的安装,请准备以下环境:
- 数据库,可以选用Mysql、mariadb或其他数据库
- PHP解析器
- web服务器,可选用nginx、apache或其他服务器软件
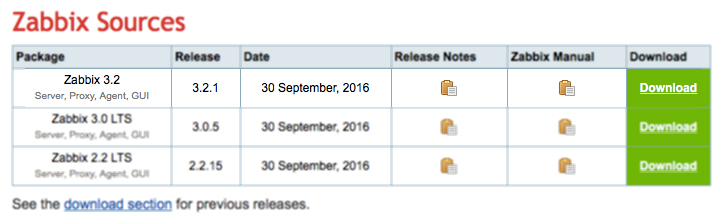
最后需要下载源码,你可以通过以下地址获取:
在上面的页面你可以发现不但有源码,还有适用于各种虚拟平台的预安装镜像和打包好的package。但我倾向于编译安装。所以在这里我下载Zabbix 3.2:
0x03 编译安装
首先需要将下载好的压缩包进行解压:
[root@test1 codex]# tar zxvf zabbix-3.2.1.tar.gz
然后进入到源码文件夹进行编译
./configure --prefix=/usr/local/zabbix --enable-server --enable-agent --with-mysql --with-net-snmp --with-libcurl --with-libxml2 --with-ssh2 --with-openipmi --with-openssl --with-libcurl
- 如果你的mariadb数据库与zabbix程序不在同一服务器上,请通过以下命令安装MySQL library:
[root@test1 zabbix-3.2.1]# yum install mysql-devel
- 如果编译的时候提示缺失SSH2 library,请通过以下命令安装libssh2-devel
[root@test1 zabbix-3.2.1]# yum install libssh2-devel
- 如果编译的时候提示缺失open IPMI相关的库:
configure: error: Invalid OPENIPMI directory - unable to find ipmiif.h
请通过以下命令安装openipmi:
[root@test1 zabbix-3.2.1]# yum install OpenIPMI-devel
通过configure后的信息如下:
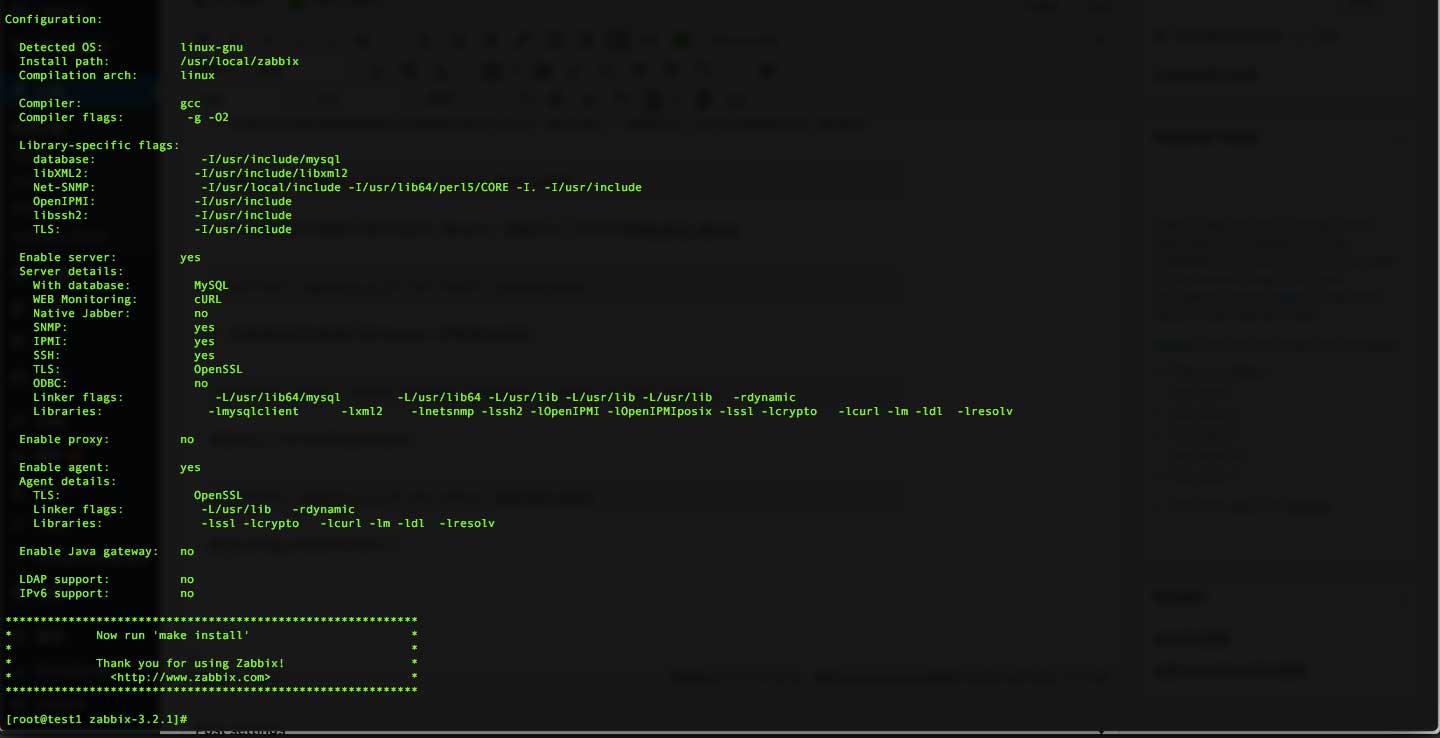
通过以下命令编译和安装:
#编译
make

#安装
make install
0x04 配置server
如果你是依据我的config命令进行了编译安装,那么请使用以下命令进入zabbix目录:
[root@test1 ~]# cd /usr/local/zabbix/
在这个目录里可以看到以下文件夹:
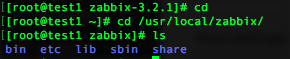
其中etc文件夹里放置了server和agentd的配置文件,sbin文件夹里放置了server和agentd的启动器。
为了使用方便,将server和agentd的启动器创建软链接到/usr/local/sbin这个文件夹里:
[root@test1 zabbix]# ln -s /usr/local/zabbix/sbin/zabbix_server /usr/local/sbin/
[root@test1 zabbix]# ln -s /usr/local/zabbix/sbin/zabbix_agentd /usr/local/sbin/
此时还不能启动server,还需要编辑server的配置文件,将数据库的连接信息添加进去。在进行此操作之前,需要先配置数据库。
在源码文件夹的database文件夹里有配置数据库所需要导入的文件:
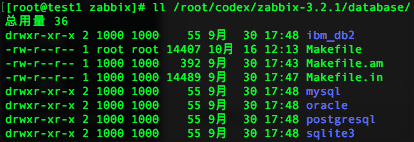
我使用的是mariadb,所以我使用mysql文件进行导入。要注意的是:导入的时候需要遵循以下顺序:
- schema.sql
- images.sql
- data.sql
通过以下命令进行导入,导入前请确认你的数据库服务器运行正常:
[root@test1 ~]# mysql -u roo -p -h 10.1.1.13 zabbix < /root/codex/zabbix-3.2.1/database/mysql/schema.sql
[root@test1 ~]# mysql -u roo -p -h 10.1.1.13 zabbix < /root/codex/zabbix-3.2.1/database/mysql/images.sql
[root@test1 ~]# mysql -u roo -p -h 10.1.1.13 zabbix < /root/codex/zabbix-3.2.1/database/mysql/data.sql
注意!请将上面命令中的数据库IP地址、用户名、数据库名和源码路径根据实际情况进行更换。
然后修改server的配置文件,以下是需要修改的部分。其他部分请更具需要自行修改:
############ GENERAL PARAMETERS #################

### Option: ListenPort
#	Listen port for trapper.
#
# Mandatory: no
# Range: 1024-32767
# Default:
# ListenPort=10051

ListenPort=10051

### Option: SourceIP
#	Source IP address for outgoing connections.
#
# Mandatory: no
# Default:
# SourceIP=

### Option: LogType
#	Specifies where log messages are written to:
#		system  - syslog
#		file    - file specified with LogFile parameter
#		console - standard output
#
# Mandatory: no
# Default:
# LogType=file

### Option: LogFile
#	Log file name for LogType 'file' parameter.
#
# Mandatory: no
# Default:
# LogFile=

LogFile=/tmp/zabbix_server.log

### Option: LogFileSize
#	Maximum size of log file in MB.
#	0 - disable automatic log rotation.
#
# Mandatory: no
# Range: 0-1024
# Default:
# LogFileSize=1

### Option: DebugLevel
#	Specifies debug level:
#	0 - basic information about starting and stopping of Zabbix processes
#	1 - critical information
#	2 - error information
#	3 - warnings
#	4 - for debugging (produces lots of information)
#	5 - extended debugging (produces even more information)
#
# Mandatory: no
# Range: 0-5
# Default:
# DebugLevel=3

### Option: PidFile
#	Name of PID file.
#
# Mandatory: no
# Default:
# PidFile=/tmp/zabbix_server.pid

### Option: DBHost
#	Database host name.
#	If set to localhost, socket is used for MySQL.
#	If set to empty string, socket is used for PostgreSQL.
#
# Mandatory: no
# Default:
# DBHost=localhost

DBHost=10.1.1.13

### Option: DBName
#	Database name.
#	For SQLite3 path to database file must be provided. DBUser and DBPassword are ignored.
#
# Mandatory: yes
# Default:
# DBName=

DBName=zabbix

### Option: DBSchema
#	Schema name. Used for IBM DB2 and PostgreSQL.
#
# Mandatory: no
# Default:
# DBSchema=

### Option: DBUser
#	Database user. Ignored for SQLite.
#
# Mandatory: no
# Default:
# DBUser=

DBUser=zabbix

### Option: DBPassword
#	Database password. Ignored for SQLite.
#	Comment this line if no password is used.
#
# Mandatory: no
# Default:
# DBPassword=

DBPassword=zabbix

### Option: DBSocket
#	Path to MySQL socket.
#
# Mandatory: no
# Default:
# DBSocket=/tmp/mysql.sock

### Option: DBPort
#	Database port when not using local socket. Ignored for SQLite.
#
# Mandatory: no
# Range: 1024-65535
# Default (for MySQL):
# DBPort=3306

DBPort=3306
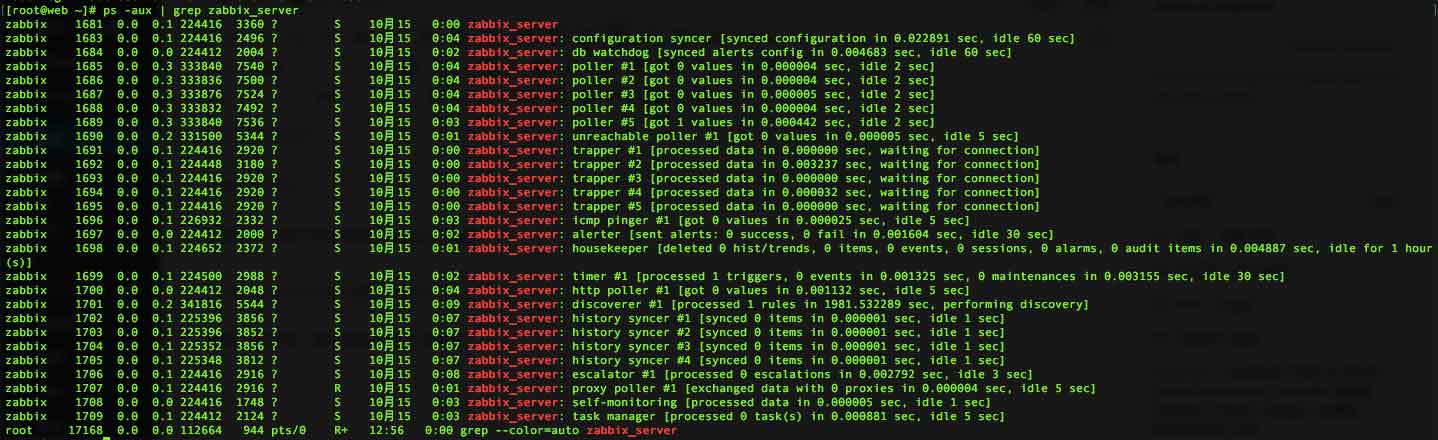
完后修改后即可尝试启动zabbix_server:
[root@test1 etc]# zabbix_server
如果一切正常,那么通过ps命令会显示:
0x05 配置web界面
服务器配置完成后继续配置web操作界面。以下是我的nginx配置文件,用处不大,因为它只是将请求转到apache而已:
[root@web ~]# cat /usr/local/nginx/conf.d/zabbix.t.com.ngx.conf
server {
    listen                  80;
    server_name             zabbix.t.com;

    root                    /usr/local/html/zabbix.t.com/public_html/;
    access_log              /usr/local/html/zabbix.t.com/logs/ngx_access.log;

    location / {

        index               index.php index.html;
        proxy_pass          http://127.0.0.1:8080;

    }

}
以下是我的apache配置文件:
[root@web ~]# cat /usr/local/apache2/conf.d/zabbix.t.com.apa.conf
<VirtualHost 127.0.0.1:8080>
	ServerAdmin [email protected]
	DocumentRoot /usr/local/html/zabbix.t.com/public_html/
	ServerName zabbix.t.com
	ProxyPassMatch ^/(.*\.php)$ fcgi://127.0.0.1:9005/usr/local/html/zabbix.t.com/public_html/$1
	ErrorLog /usr/local/html/zabbix.t.com/logs/apa.error.log
</VirtualHost>
以下是我的php-fpm配置文件:
[root@web ~]# cat /usr/local/php7/etc/php-fpm.d/zabbix.t.com.conf
[zabbixtcom]
;useradd -M -s /sbin/nologin -n zabbixtcom
listen = 127.0.0.1:9005
user = zabbixtcom
group = daemon
pm = dynamic
pm.max_children = 20
pm.start_servers = 5
pm.min_spare_servers = 2
pm.max_spare_servers = 5
php_admin_flag[log_errors] = on
php_admin_value[error_log] = /usr/local/html/zabbix.t.com/logs/fpm-php.log
php_flag[display_errors] = off
php_admin_value[memory_limit] = 256M
pm.max_requests = 3000
request_terminate_timeout = 300
确认web服务器运行正常后,从zabbix源码文件夹复制web客户端到指定位置。我的web文件需要放置在以下位置,请根据实际情况进行修改:
[root@web ~]# ll /usr/local/html/zabbix.t.com/
总用量 4
drwxr-xr-x  2 zabbixtcom daemon   47 10月 14 02:10 logs
drwxr-xr-x 13 zabbixtcom daemon 4096 10月 15 21:30 public_html
通过以下命令进行复制、重命名和修正用户与用户组:
#复制到指定位置
[root@web ~]# cp -r codex/zabbix/zabbix-3.2.1/frontends/php/ /usr/local/html/zabbix.t.com/

#重命名文件夹
[root@web ~]# mv /usr/local/html/zabbix.t.com/php /usr/local/html/zabbix.t.com/public_html/

#修改所属用户与用户组
[root@web ~]# chown -R zabbixtcom:daemon /usr/local/html/zabbix.t.com/
注意!以上信息请根据实际情况进行修改。
0x06 最后配置
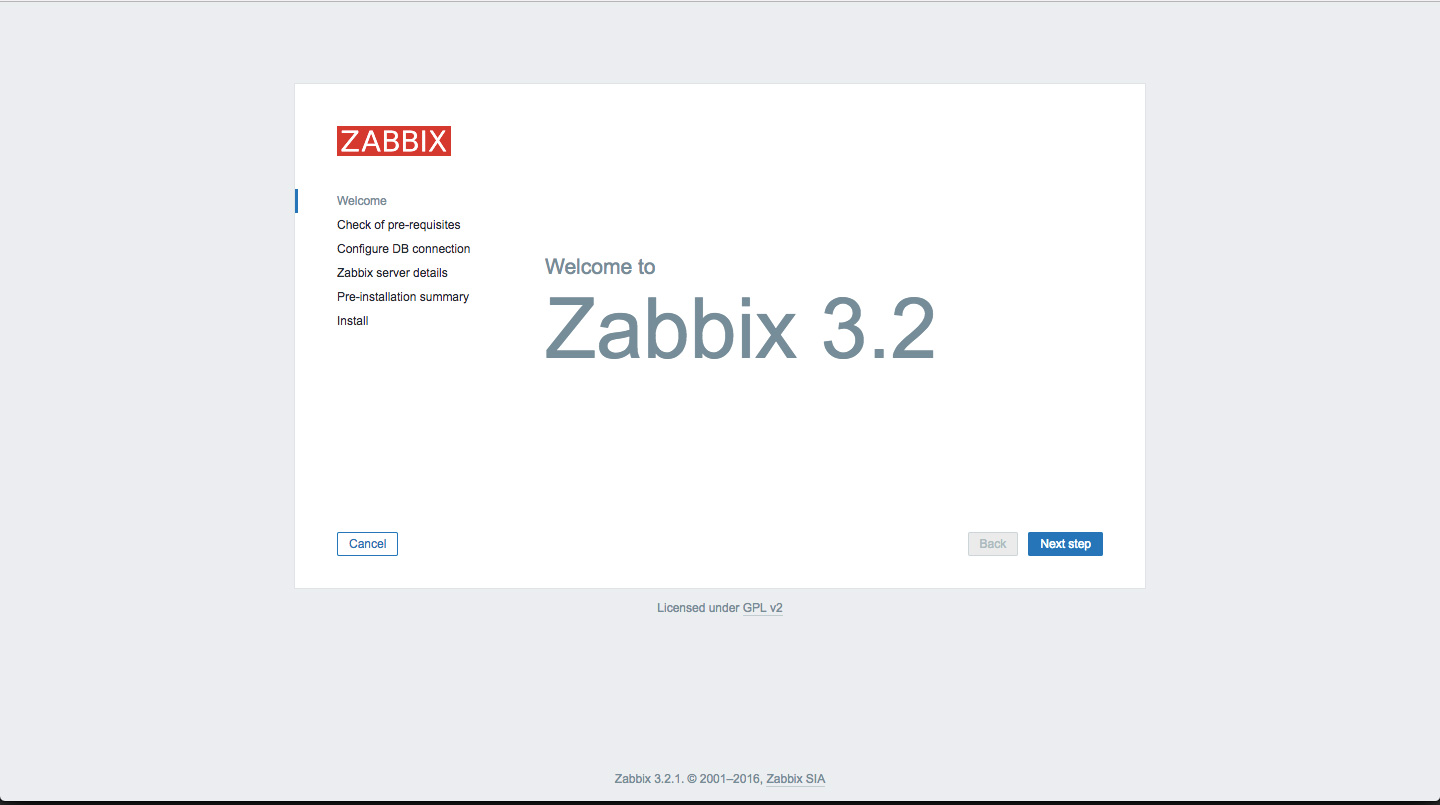
完成前面的步骤,在一切正常的情况下通过IP或设定的域名即可访问zabbix,然后根据页面的步骤提示进行最终设定。
0x07 结语
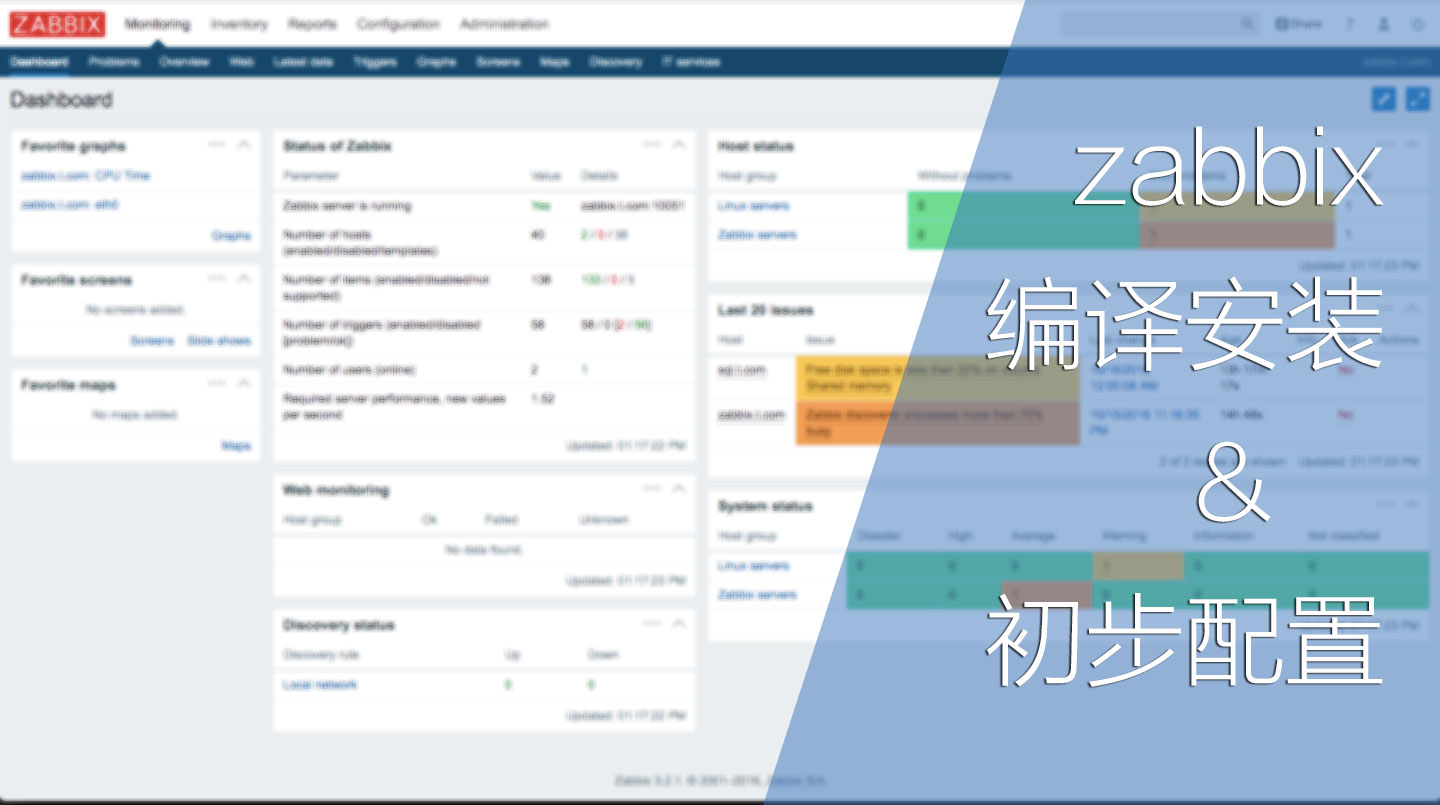
zabbix内置简体中文,可是有些字符显示为“口”,我想这应该是字体设置错误所导致的,也有可能是我电脑缺失必要的字体所导致的。以下是安装完成后的界面:

但仅过这两天的使用,无论是易用性还是界面上,我觉得都比cacti要好。


 – KVM & OpenVZ LAX02数据中心")


