0x01 前言
数据库是一个站点必不可少的组件,但因为某些因素,centos已经将mysql用mariadb替代为默认的数据库,而我也一直用着mariadb。
其实在centos里安装mariadb非常简单,只需要寥寥几行命令即可,而这篇文章的存在只是为了记录如何配置root用户的远程登入权限。
0x02 准备
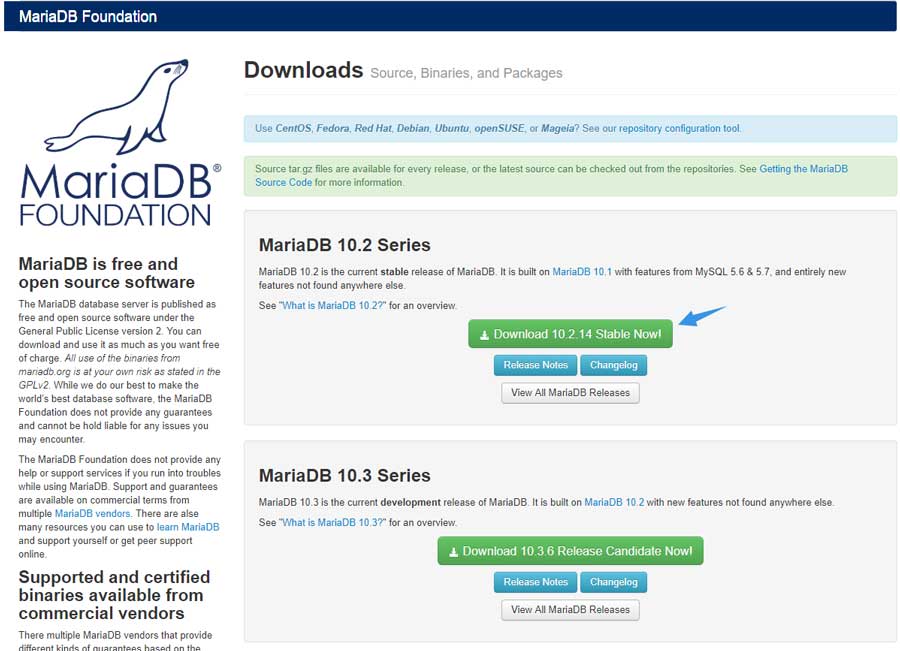
首先需要选择合适的版本,如果没有特别的需求,则选择最新的稳定版即可:
在我写这篇文章的时候,最新稳定版为10.2.14。还有一点需要注意的是,大版本间的升级非常困难与繁琐,所以一旦选定版本后,不建议升级大版本。
例如上述的版本号,可以通过yum升级至10.2.x;但想升级到10.x,可能需要先导出所有数据库,删除原来的版本,然后安装新版,最后将数据库重新导入。
得益于mariadb是一款开源软件,安全性也是有所保障的,另外它的支持周期非常长,如果需要升级版本,也可以慢慢地计划。
选定版本后点击Download按钮进入下载页面:
在新打开的页面中,可以选择相关版本与下载镜像站:
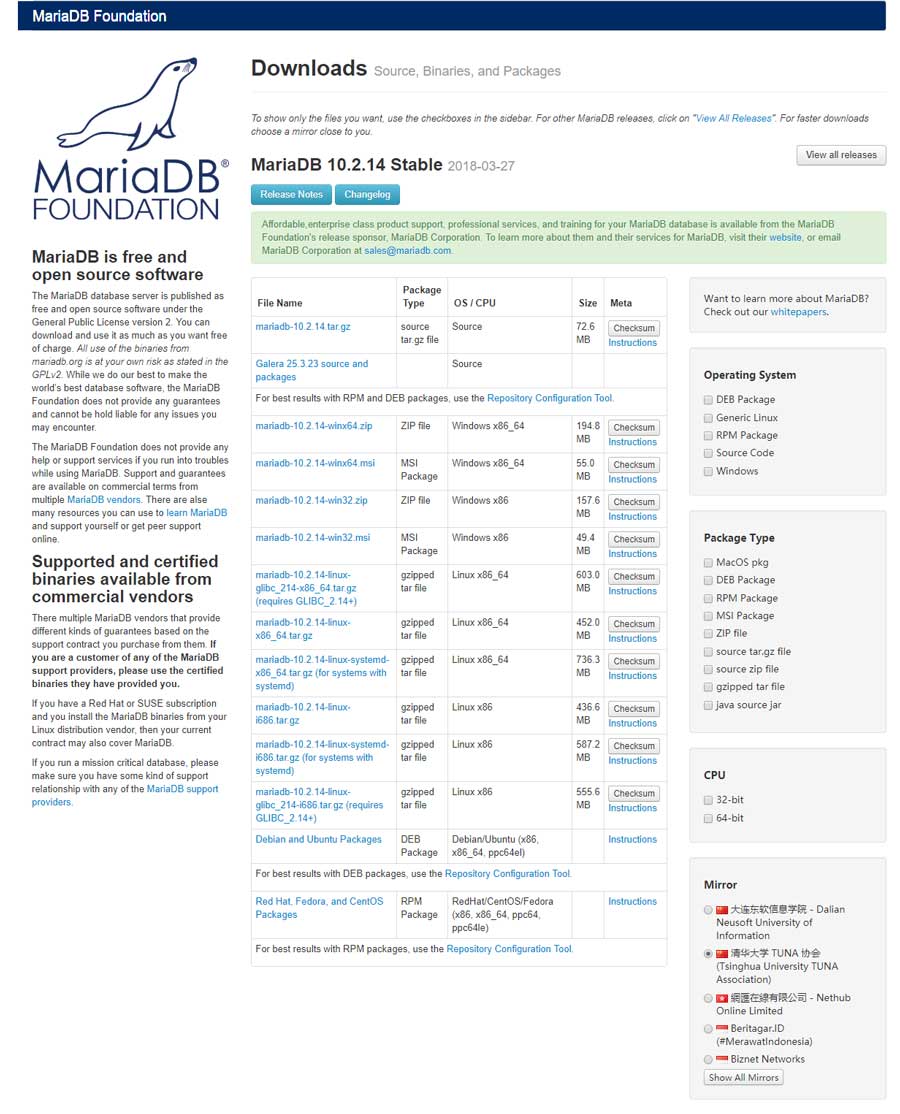
如果需要部署的服务器没有网络连接,那么可以选择RPM Package,下载离线安装包,最后通过yum或rpm命令进行安装亦可。
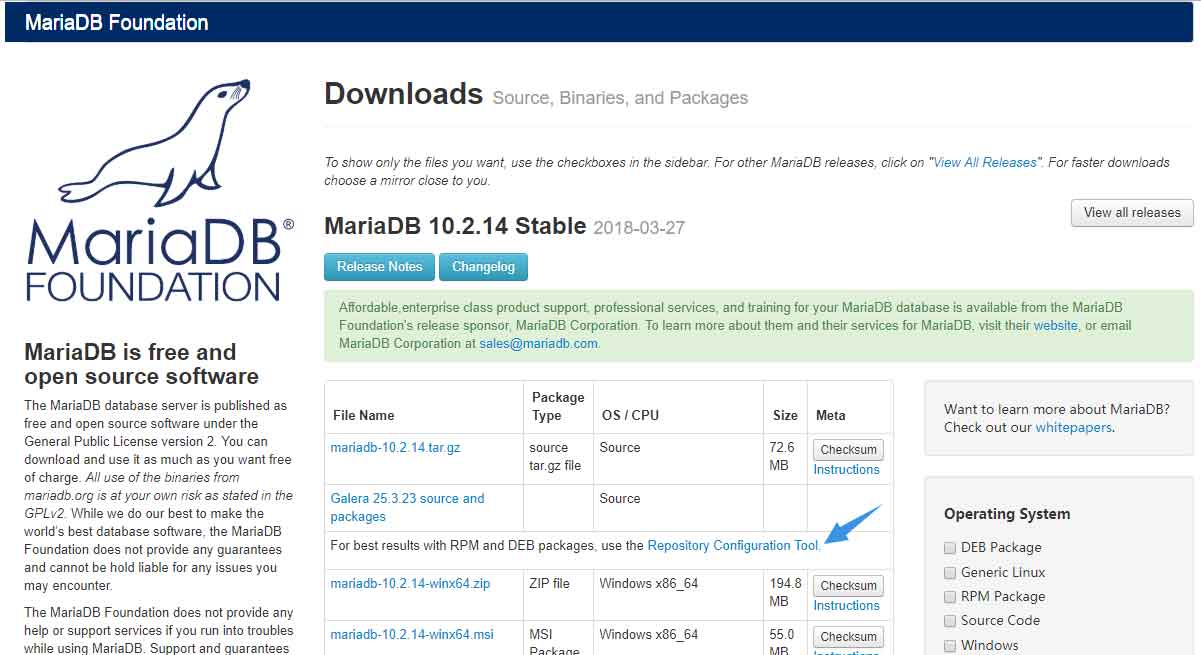
但在这里我通过配置repo源的方式进行安装,在源码下载链接的底部找到Repository Configuration Tool并点击进入:
然后选择相应的系统与版本,页面随即显示出相应的repo内容:

但这个源在我们国内访问是非常缓慢的,所以我建议使用中国科学技术大学的镜像地址,所以修改后的repo内容如下:
[mariadb]
name = MariaDB
baseurl = http://mirrors.ustc.edu.cn/mariadb/yum/10.1/centos7-amd64
gpgkey=https://yum.mariadb.org/RPM-GPG-KEY-MariaDB
gpgcheck=1
最后通过以下命令在本地建立repo文件:
#新建文件
[root@mariadb-t1 ~]# vim /etc/yum.repos.d/mariadb.repo

#填入内容后并保存
[mariadb]
name = MariaDB
baseurl = http://mirrors.ustc.edu.cn/mariadb/yum/10.1/centos7-amd64
gpgkey=https://yum.mariadb.org/RPM-GPG-KEY-MariaDB
gpgcheck=1
0x03 安装配置
完成源的配置后,即可使用以下命令进行安装:
[root@mariadb-t1 ~]# yum install MariaDB-server MariaDB-client
在这里再次强调,downloads.mariadb.org这个地址对我国的网络并不友好,建议使用国内的镜像,因为需要下载的文件非常大,视乎你的网络状况,下载时间可能会非常长:
安装成功后注意仔细看返还的信息:
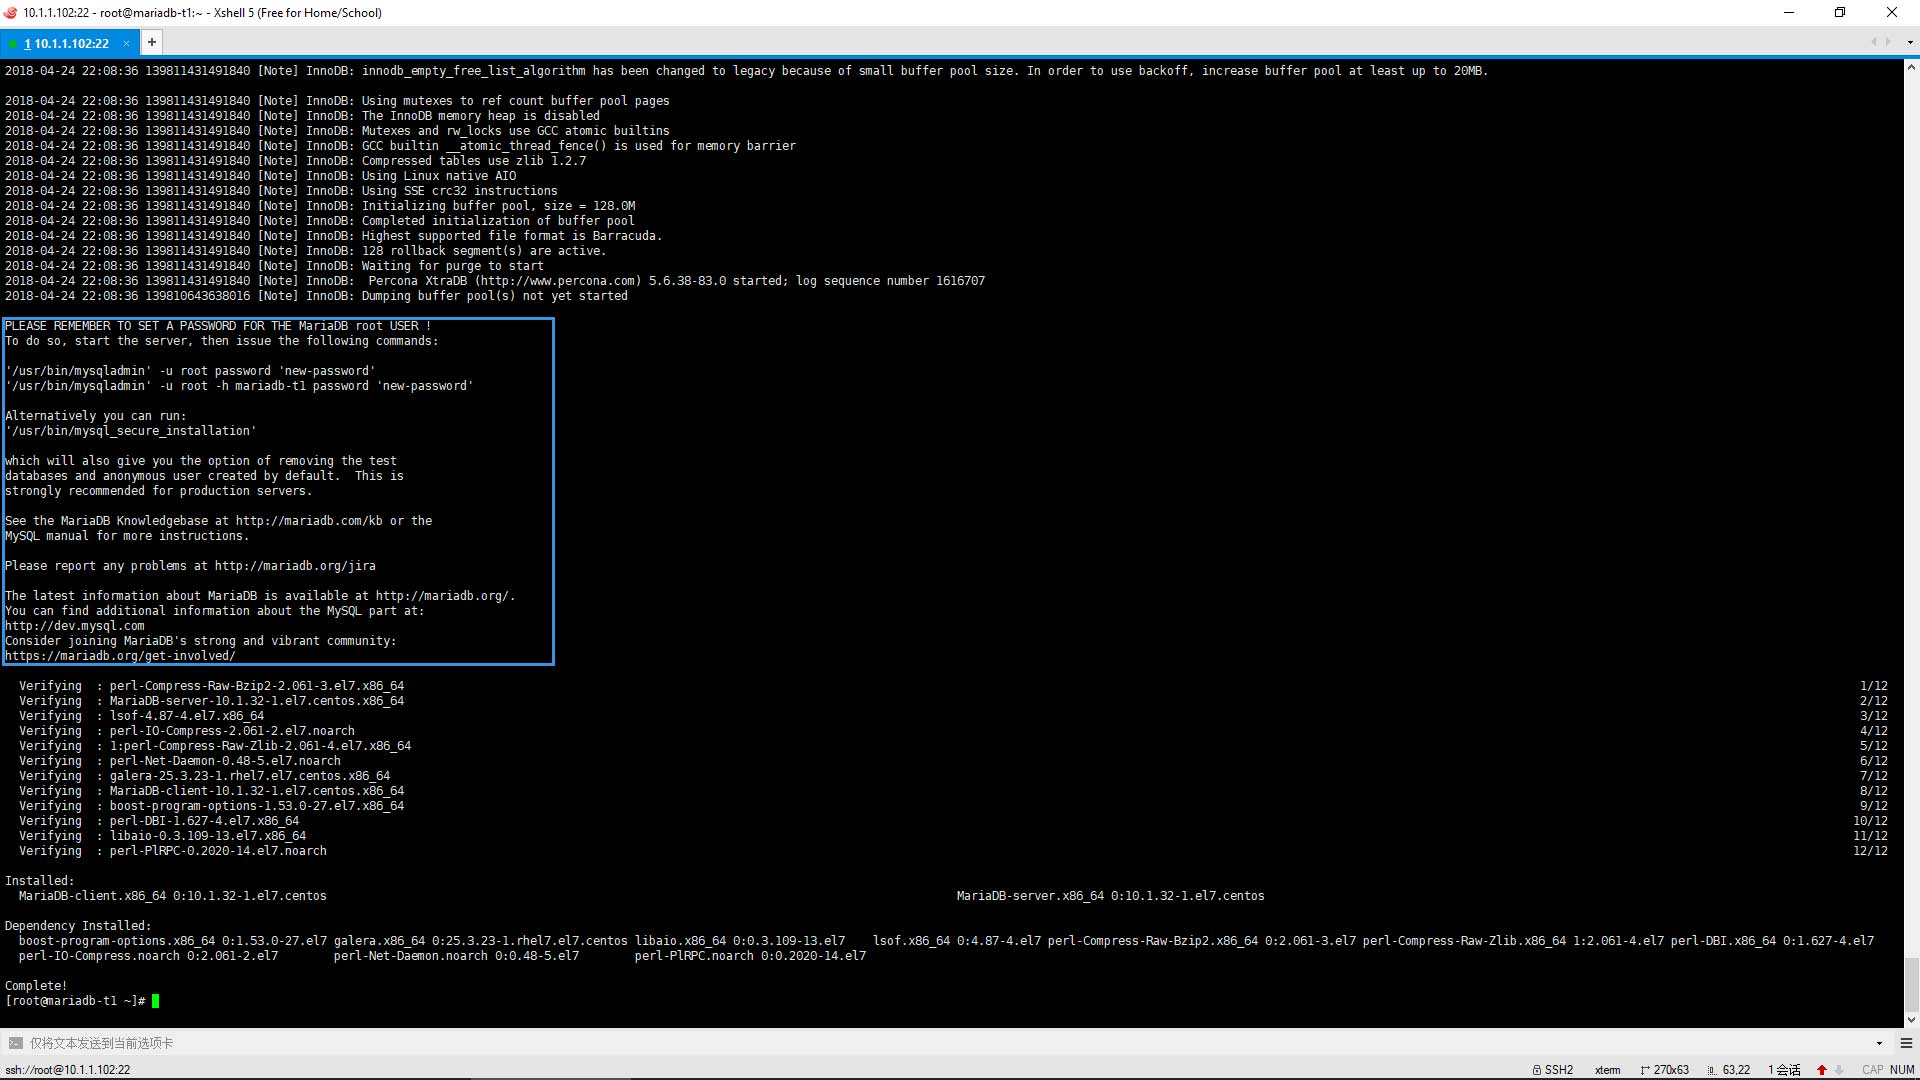
这些信息内有几行比较重要的:
PLEASE REMEMBER TO SET A PASSWORD FOR THE MariaDB root USER !
To do so, start the server, then issue the following commands:

'/usr/bin/mysqladmin' -u root password 'new-password'
'/usr/bin/mysqladmin' -u root -h mariadb-t1 password 'new-password'

Alternatively you can run:
'/usr/bin/mysql_secure_installation'
需要通过以上命令给新安装的mariadb配置root用户的密码,但在一般情况下,我都用最后一行命令进行交互式预设值。
但在配置之前需要先检查mariadb的运行情况,因为在默认情况下,新安装的mariadb是不会自动启动的:
[root@mariadb-t1 ~]# systemctl status mariadb.service
● mariadb.service - MariaDB 10.1.32 database server
   Loaded: loaded (/usr/lib/systemd/system/mariadb.service; enabled; vendor preset: disabled)
  Drop-In: /etc/systemd/system/mariadb.service.d
           └─migrated-from-my.cnf-settings.conf
   Active: inactive (dead)
     Docs: man:mysqld(8)
           https://mariadb.com/kb/en/library/systemd/
为此,我们需要先手动启动:
#手动启动
[root@mariadb-t1 ~]# systemctl start mariadb.service

#再次检查状态
[root@mariadb-t1 ~]# systemctl status mariadb
● mariadb.service - MariaDB 10.1.32 database server
   Loaded: loaded (/usr/lib/systemd/system/mariadb.service; enabled; vendor preset: disabled)
  Drop-In: /etc/systemd/system/mariadb.service.d
           └─migrated-from-my.cnf-settings.conf
   Active: active (running) since Tue 2018-04-24 22:17:48 CST; 1s ago
     Docs: man:mysqld(8)
           https://mariadb.com/kb/en/library/systemd/
  Process: 3663 ExecStartPost=/bin/sh -c systemctl unset-environment _WSREP_START_POSITION (code=exited, status=0/SUCCESS)
  Process: 3623 ExecStartPre=/bin/sh -c [ ! -e /usr/bin/galera_recovery ] && VAR= ||   VAR=`/usr/bin/galera_recovery`; [ $? -eq 0 ]   && systemctl set-environment _WSREP_START_POSITION=$VAR || exit 1 (code=exited, status=0/SUCCESS)
  Process: 3621 ExecStartPre=/bin/sh -c systemctl unset-environment _WSREP_START_POSITION (code=exited, status=0/SUCCESS)
 Main PID: 3635 (mysqld)
   Status: "Taking your SQL requests now..."
   CGroup: /system.slice/mariadb.service
           └─3635 /usr/sbin/mysqld
默认情况下,mariadb已经处于开机启动的状态,所以不需要手动再配置。
确认mariadb运行正常后即可运行以下命令进行配置:
[root@mariadb-t1 ~]# /usr/bin/mysql_secure_installation
首先是要求输入root密码,因为是新安装,并不存在root密码,所以直接回车即可:
In order to log into MariaDB to secure it, we'll need the current
password for the root user.  If you've just installed MariaDB, and
you haven't set the root password yet, the password will be blank,
so you should just press enter here.

Enter current password for root (enter for none):
然后是询问是否需要设置root密码,为了安全起见,请务必设置一个root密码:
Setting the root password ensures that nobody can log into the MariaDB
root user without the proper authorisation.

Set root password? [Y/n] y
输入两次密码后回车,无误后继续下一步:
New password:
Re-enter new password:
Password updated successfully!
Reloading privilege tables..
 ... Success!
紧接着的是询问是否禁用匿名用户,为了安全起见,请禁用匿名用户:
By default, a MariaDB installation has an anonymous user, allowing anyone
to log into MariaDB without having to have a user account created for
them.  This is intended only for testing, and to make the installation
go a bit smoother.  You should remove them before moving into a
production environment.

Remove anonymous users? [Y/n] y
 ... Success!
然后是询问是否禁用root用户的远程登入功能,为了安全起见,应该要禁用root用户的登入功能,如果禁用该功能,则仅允许本地登入root用户:
Normally, root should only be allowed to connect from 'localhost'.  This
ensures that someone cannot guess at the root password from the network.

Disallow root login remotely? [Y/n] y
 ... Success!
再然后是询问是否删除测试数据库,一般用于生产环境的mariadb都不需要这个库,所以可以选择移除:
By default, MariaDB comes with a database named 'test' that anyone can
access.  This is also intended only for testing, and should be removed
before moving into a production environment.

Remove test database and access to it? [Y/n] y
 - Dropping test database...
 ... Success!
 - Removing privileges on test database...
 ... Success!
最后询问是否需要重新加载特权表,建议重新加载:
Reloading the privilege tables will ensure that all changes made so far
will take effect immediately.

Reload privilege tables now? [Y/n] y
 ... Success!

Cleaning up...

All done!  If you've completed all of the above steps, your MariaDB
installation should now be secure.

Thanks for using MariaDB!
至此,所以的安装步骤皆已完成,我们可以通过以下命令进行测试:
#使用mysql命令登入数据库
[root@mariadb-t1 ~]# mysql -u root -p

#输入密码后回车
Enter password:

#成功登入数据库后的内容
Welcome to the MariaDB monitor.  Commands end with ; or \g.
Your MariaDB connection id is 10
Server version: 10.1.32-MariaDB MariaDB Server

Copyright (c) 2000, 2018, Oracle, MariaDB Corporation Ab and others.

Type 'help;' or '\h' for help. Type '\c' to clear the current input statement.

MariaDB [(none)]>
0x04 远程登入
如果在首次配置的时候选择禁用root用户的远程登入功能,那么是不允许在本机以外的IP进行登入的:
[root@web ~]# mysql -u root -p -h 10.1.1.102
Enter password:
ERROR 1130 (HY000): Host 'web.t.com' is not allowed to connect to this MariaDB server
如果需要重新开放权限,建议通过该表的方法进行修改。
先登入数据库:
[root@mariadb-t1 ~]# mysql -u root -p
Enter password:
Welcome to the MariaDB monitor.  Commands end with ; or \g.
Your MariaDB connection id is 10
Server version: 10.1.32-MariaDB MariaDB Server

Copyright (c) 2000, 2018, Oracle, MariaDB Corporation Ab and others.

Type 'help;' or '\h' for help. Type '\c' to clear the current input statement.

MariaDB [(none)]>
然后进入mysql数据库:
MariaDB [(none)]> use mysql;
Reading table information for completion of table and column names
You can turn off this feature to get a quicker startup with -A

Database changed
MariaDB [mysql]>
读取user表中的user与host的内容:
MariaDB [mysql]> select user, host from user;
+------+-----------+
| user | host      |
+------+-----------+
| root | 127.0.0.1 |
| root | ::1       |
| root | localhost |
+------+-----------+
3 rows in set (0.00 sec)

MariaDB [mysql]>
可以发现root用户仅允许通过本地登入,然后通过以下命令修改127.0.0.1为通配符“%”:
MariaDB [mysql]> update user set host='%' where user='root';
然后再次检查user表中的内容:
MariaDB [mysql]> select user, host from user;
+------+-----------+
| user | host      |
+------+-----------+
| root | %         |
| root | 127.0.0.1 |
| root | ::1       |
+------+-----------+
3 rows in set (0.00 sec)
最后刷新特权表:
MariaDB [mysql]> flush privileges;
完成后退出数据库即可。
再次尝试在别的地方登入:
[root@web ~]# mysql -u root -p -h 10.1.1.102
Enter password:
Welcome to the MariaDB monitor.  Commands end with ; or \g.
Your MariaDB connection id is 14
Server version: 10.1.32-MariaDB MariaDB Server

Copyright (c) 2000, 2018, Oracle, MariaDB Corporation Ab and others.

Type 'help;' or '\h' for help. Type '\c' to clear the current input statement.

MariaDB [mysql]> select user, host from user;
+------+-----------+
| user | host      |
+------+-----------+
| root | %         |
| root | 127.0.0.1 |
| root | ::1       |
+------+-----------+
3 rows in set (0.00 sec)

MariaDB [mysql]> flush privileges;
Query OK, 0 rows affected (0.00 sec)

MariaDB [mysql]>
已确认可以通过其他地方进行登入。
0x05 结语
小站点的PHP环境一般和mariadb在同一台机子上,所以这个问题并不常遇到,但这个却是被问得最多的问题。


 – OpenVZ 达拉斯数据中心")


