0x01 前言
因为太久没接触HTTP/2的相关设定,还不知道chrome对于HTTP/2的要求更加严格了,因为系统预设的openssl不支持ALPN使得chorme只能通过HTTP 1.1连接我的服务器。
在上周我将naxsi替换为modsecurity,终于能用上HTTP/2这一技术。但是在测试中发现curl、Firefox和其他软件在访问时都能通过HTTP/2进行连接,而chrome却一直是HTTP 1.1。
0x02 BUG
以下是通过curl命令获取头部信息,可以看到是支持HTTP/2协议的:
MacBook-Air:~ terence$ curl -I https://ngx.hk
HTTP/2 403
server: nginx
date: Thu, 21 Sep 2017 07:33:42 GMT
content-type: text/html; charset=utf-8
strict-transport-security: max-age=31536000; preload; includeSubDomains
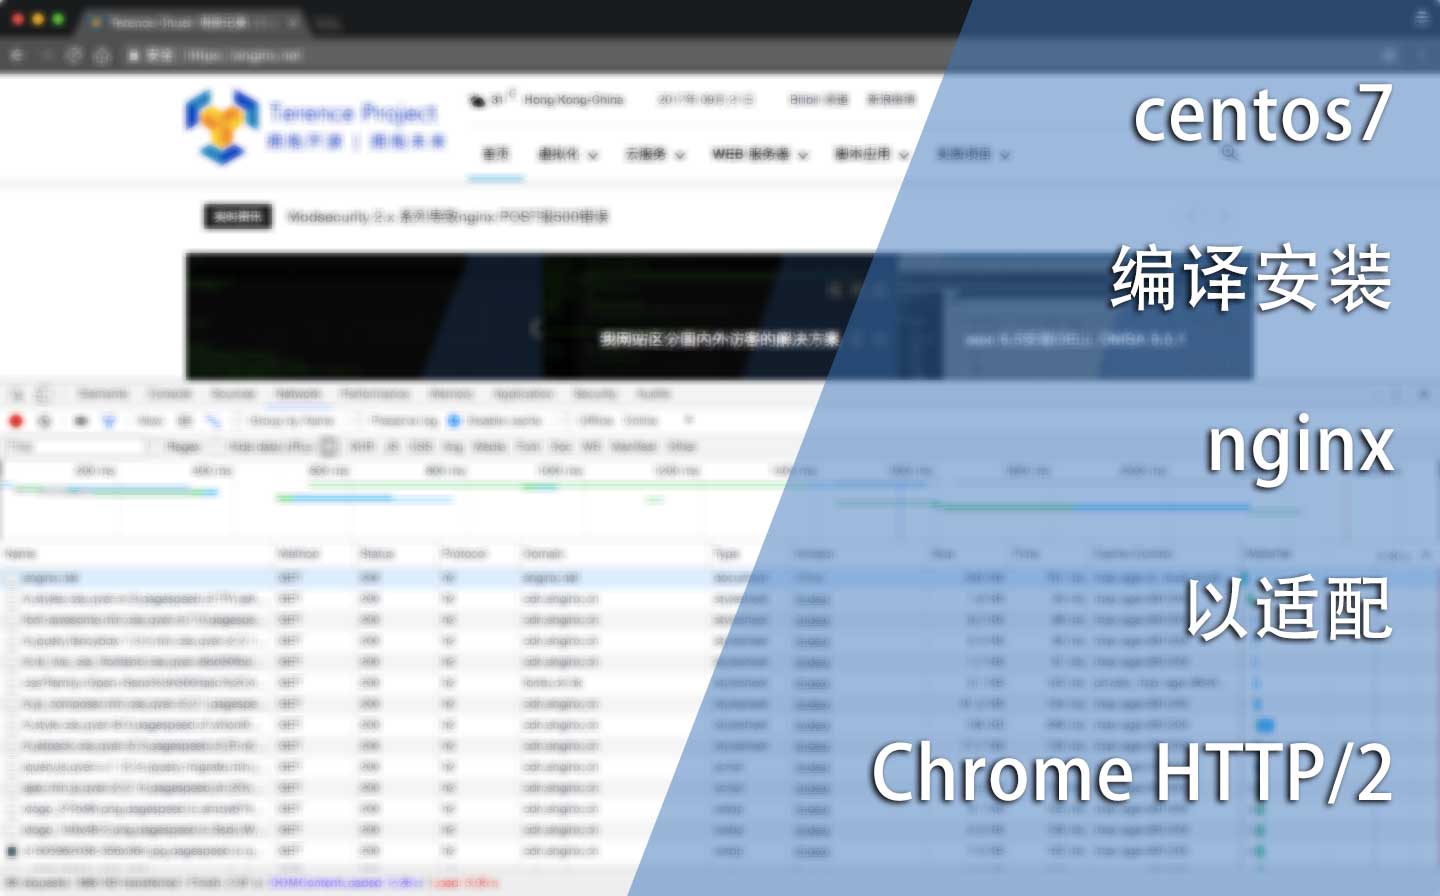
以下是chrome的结果:
![]()
0x03 DEBUG
其实问题很简单,在Chrome 51中Google移除了对SPDY协议和NPN协商协议的支持。
SPDY协议成为了HTTP/2协议,这个升级比较简单,只需要修改web服务器,也就是nginx即可;而NPN则是基于openssl的,取而代之的是一种新的协商协议:ALPN。
问题就出在ALPN协商协议的支持上:

图片来自Supporting HTTP/2 for Website Visitors
更多详细内容请点击以下链接:
从上图可以看出,目前仅有Debian 9和ubuntu 16.04系统中的openssl支持ALPN,而openssl也只有1.0.2或更新的版本才支持ALPN。
在centos 中默认的openssl版本为1.0.1e,而在我写这篇文章的时候已经可以升级到1.0.2k:
[root@modsecurity ~]# yum info openssl
Loaded plugins: fastestmirror
Loading mirror speeds from cached hostfile
Installed Packages
Name        : openssl
Arch        : x86_64
Epoch       : 1
Version     : 1.0.1e
Release     : 60.el7_3.1
Size        : 1.5 M
Repo        : installed
From repo   : centos7-updates
Summary     : Utilities from the general purpose cryptography library with TLS implementation
URL         : http://www.openssl.org/
License     : OpenSSL
Description : The OpenSSL toolkit provides support for secure communications between
            : machines. OpenSSL includes a certificate management tool and shared
            : libraries which provide various cryptographic algorithms and
            : protocols.

Available Packages
Name        : openssl
Arch        : x86_64
Epoch       : 1
Version     : 1.0.2k
Release     : 8.el7
Size        : 492 k
Repo        : centos7-base
Summary     : Utilities from the general purpose cryptography library with TLS implementation
URL         : http://www.openssl.org/
License     : OpenSSL
Description : The OpenSSL toolkit provides support for secure communications between
            : machines. OpenSSL includes a certificate management tool and shared
            : libraries which provide various cryptographic algorithms and
也就是说,在默认情况下编译nginx,因为openssl不支持ALPN的缘故,chrome不会使用HTTP/2进行连接,而采用HTTP/1.1。
解决办法也很简单,一种是升级系统中的openssl,只需要yum update即可;第二种是在编译nginx的时候指定openssl路径。
0x04 编译
如果系统中的业务对openssl的版本没有要求,那么直接update再编译是最好的选择;当然也可以指定openssl的路径自行编译。
首先准备好nginx源码和openssl:
#新建文件夹并进入相关目录
[root@modsecurity ~]# mkdir /root/codex/

#进入相关目录
[root@modsecurity ~]# cd /root/codex/

#下载openresty
[root@modsecurity codex]# wget https://openresty.org/download/openresty-1.11.2.5.tar.gz

#下载openssl
[root@modsecurity codex]# wget https://www.openssl.org/source/openssl-1.0.2l.tar.gz
下载链接可通过以下链接找到:
在选择openssl版本的时候需要注意,1.0.1所有的版本以及更旧的版本已经停止支持了,而1.0.2系列版本则到2019年12月31日才终止技术支持,目前稳定版本为1.1.0。如果可以,建议选择1.1.0系列版本的openssl。
下载完成后解压:
#解压openresty
[root@modsecurity codex]# tar zxvf openresty-1.11.2.5

#解压openssl
[root@modsecurity codex]# tar zxvf openssl-1.0.2l.tar.gz
最后是编译:
#进入文件夹
[root@modsecurity codex]# cd openresty-1.11.2.5/

#configure
[root@modsecurity openresty-1.11.2.5]# ./configure --with-openssl=/root/codex/openssl-1.0.2l --with-http_v2_module --with-http_ssl_module
configure无错误后可以看到以下内容:
Configuration summary
  + using OpenSSL library: /root/codex/openssl-1.0.2l
然后编译和安装:
#编译
[root@modsecurity openresty-1.11.2.5]# make

#安装
[root@modsecurity openresty-1.11.2.5]# make install
最后查看版本信息:
[root@modsecurity openresty-1.11.2.5]]$ nginx -V
nginx version: openresty/1.11.2.5
built by gcc 4.8.5 20150623 (Red Hat 4.8.5-11) (GCC)
built with OpenSSL 1.0.2l  25 May 2017
TLS SNI support enabled
configure arguments: --prefix=/usr/local/nginx/nginx --with-cc-opt=-O2 --add-module=../ngx_devel_kit-0.3.0 --add-module=../echo-nginx-module-0.61 --add-module=../xss-nginx-module-0.05 --add-module=../ngx_coolkit-0.2rc3 --add-module=../set-misc-nginx-module-0.31 --add-module=../form-input-nginx-module-0.12 --add-module=../encrypted-session-nginx-module-0.06 --add-module=../srcache-nginx-module-0.31 --add-module=../ngx_lua-0.10.10 --add-module=../ngx_lua_upstream-0.07 --add-module=../headers-more-nginx-module-0.32 --add-module=../array-var-nginx-module-0.05 --add-module=../memc-nginx-module-0.18 --add-module=../redis2-nginx-module-0.14 --add-module=../redis-nginx-module-0.3.7 --add-module=../rds-json-nginx-module-0.14 --add-module=../rds-csv-nginx-module-0.07 --with-ld-opt='-Wl,-rpath,/usr/local/nginx/luajit/lib -Wl,-E' --sbin-path=/usr/sbin/nginx --conf-path=/usr/local/nginx/nginx.conf --pid-path=/var/run/nginx.pid --error-log-path=/var/log/nginx/error.log --http-log-path=/var/log/nginx/access.log --lock-path=/var/lock/nginx.lock --with-http_gunzip_module --with-pcre --with-pcre-jit --with-http_perl_module --with-http_realip_module --with-http_secure_link_module --with-http_slice_module --with-http_ssl_module --with-http_stub_status_module --with-http_sub_module --with-http_v2_module --with-http_addition_module --with-http_xslt_module --with-http_image_filter_module --with-http_geoip_module --with-http_dav_module --with-http_flv_module --with-http_mp4_module --with-http_gzip_static_module --with-http_auth_request_module --with-http_random_index_module --with-select_module --with-poll_module --with-file-aio --with-http_degradation_module --with-libatomic --http-client-body-temp-path=/var/tmp/nginx/client_body --http-proxy-temp-path=/var/tmp/nginx/proxy --http-fastcgi-temp-path=/var/tmp/nginx/fastcgi --http-uwsgi-temp-path=/var/tmp/nginx/uwsgi --http-scgi-temp-path=/var/tmp/nginx/scgi --add-module=/root/codex/naxsi/naxsi/naxsi_src --add-dynamic-module=/root/codex/ModSecurity-nginx --with-openssl=/root/codex/openssl/openssl-1.0.2l
0x05 配置
我发现编译完成需要在nginx配置文件中的server字段中配置listen的参数,例如:
server {

    listen                  443 ssl http2;
    server_name             www.enginx.cn;

    ssl                     on;
    ssl_certificate         /usr/local/nginx/ssl/enginx.cn.crt;
    ssl_certificate_key     /usr/local/nginx/ssl/enginx.cn.key;
    ssl_buffer_size         16k;
    ssl_ciphers             ECDHE-ECDSA-AES128-GCM-SHA256:ECDHE-RSA-AES128-GCM-SHA256:ECDHE-ECDSA-AES256-GCM-SHA384:ECDHE-RSA-AES256-GCM-SHA384:ECDHE-ECDSA-AES128-SHA:ECDHE-RSA-AES128-SHA:ECDHE-ECDSA-AES256-SHA384:ECDHE-RSA-AES256-SHA384:ECDHE-ECDSA-AES256-SHA:ECDHE-RSA-AES256-SHA:ECDHE-ECDSA-AES128-SHA256:ECDHE-RSA-AES128-SHA256:AES128-GCM-SHA256:AES256-GCM-SHA384:DES-CBC3-SHA;
    ssl_prefer_server_ciphers   on;
    ssl_protocols           TLSv1 TLSv1.1 TLSv1.2;
    ssl_session_cache       builtin:20480 shared:SSL:10m;
    ssl_session_timeout     3h;
    ssl_stapling            on;
    ssl_session_tickets     on;
    add_header              X-Content-Type-Options nosniff;
    add_header              X-XSS-Protection "1; mode=block";
    add_header              Strict-Transport-Security "max-age=31536000; preload; includeSubDomains" always;

    access_log              /var/log/nginx/access.log  main;

    return 301 https://enginx.cn$request_uri;

}
0x06 结语
centos7在编译安装nginx之前建议先升级系统,这样就不再需要那么繁琐的步骤了。


